Game Play / Rules / Complexity
There are only a few things that need to be done to set this game up for play. Each player picks a board and the matching color scoring token. You shuffle and deal out a private goal card to each player. Shuffle and play three public goal cards. Shuffle and deal three tool cards. (Details on all of these later.) Each player is then given two double-sided windows that they might try to build. Each player selects one window to build based on their private goal, the public goal, and how much of a challenge they want.
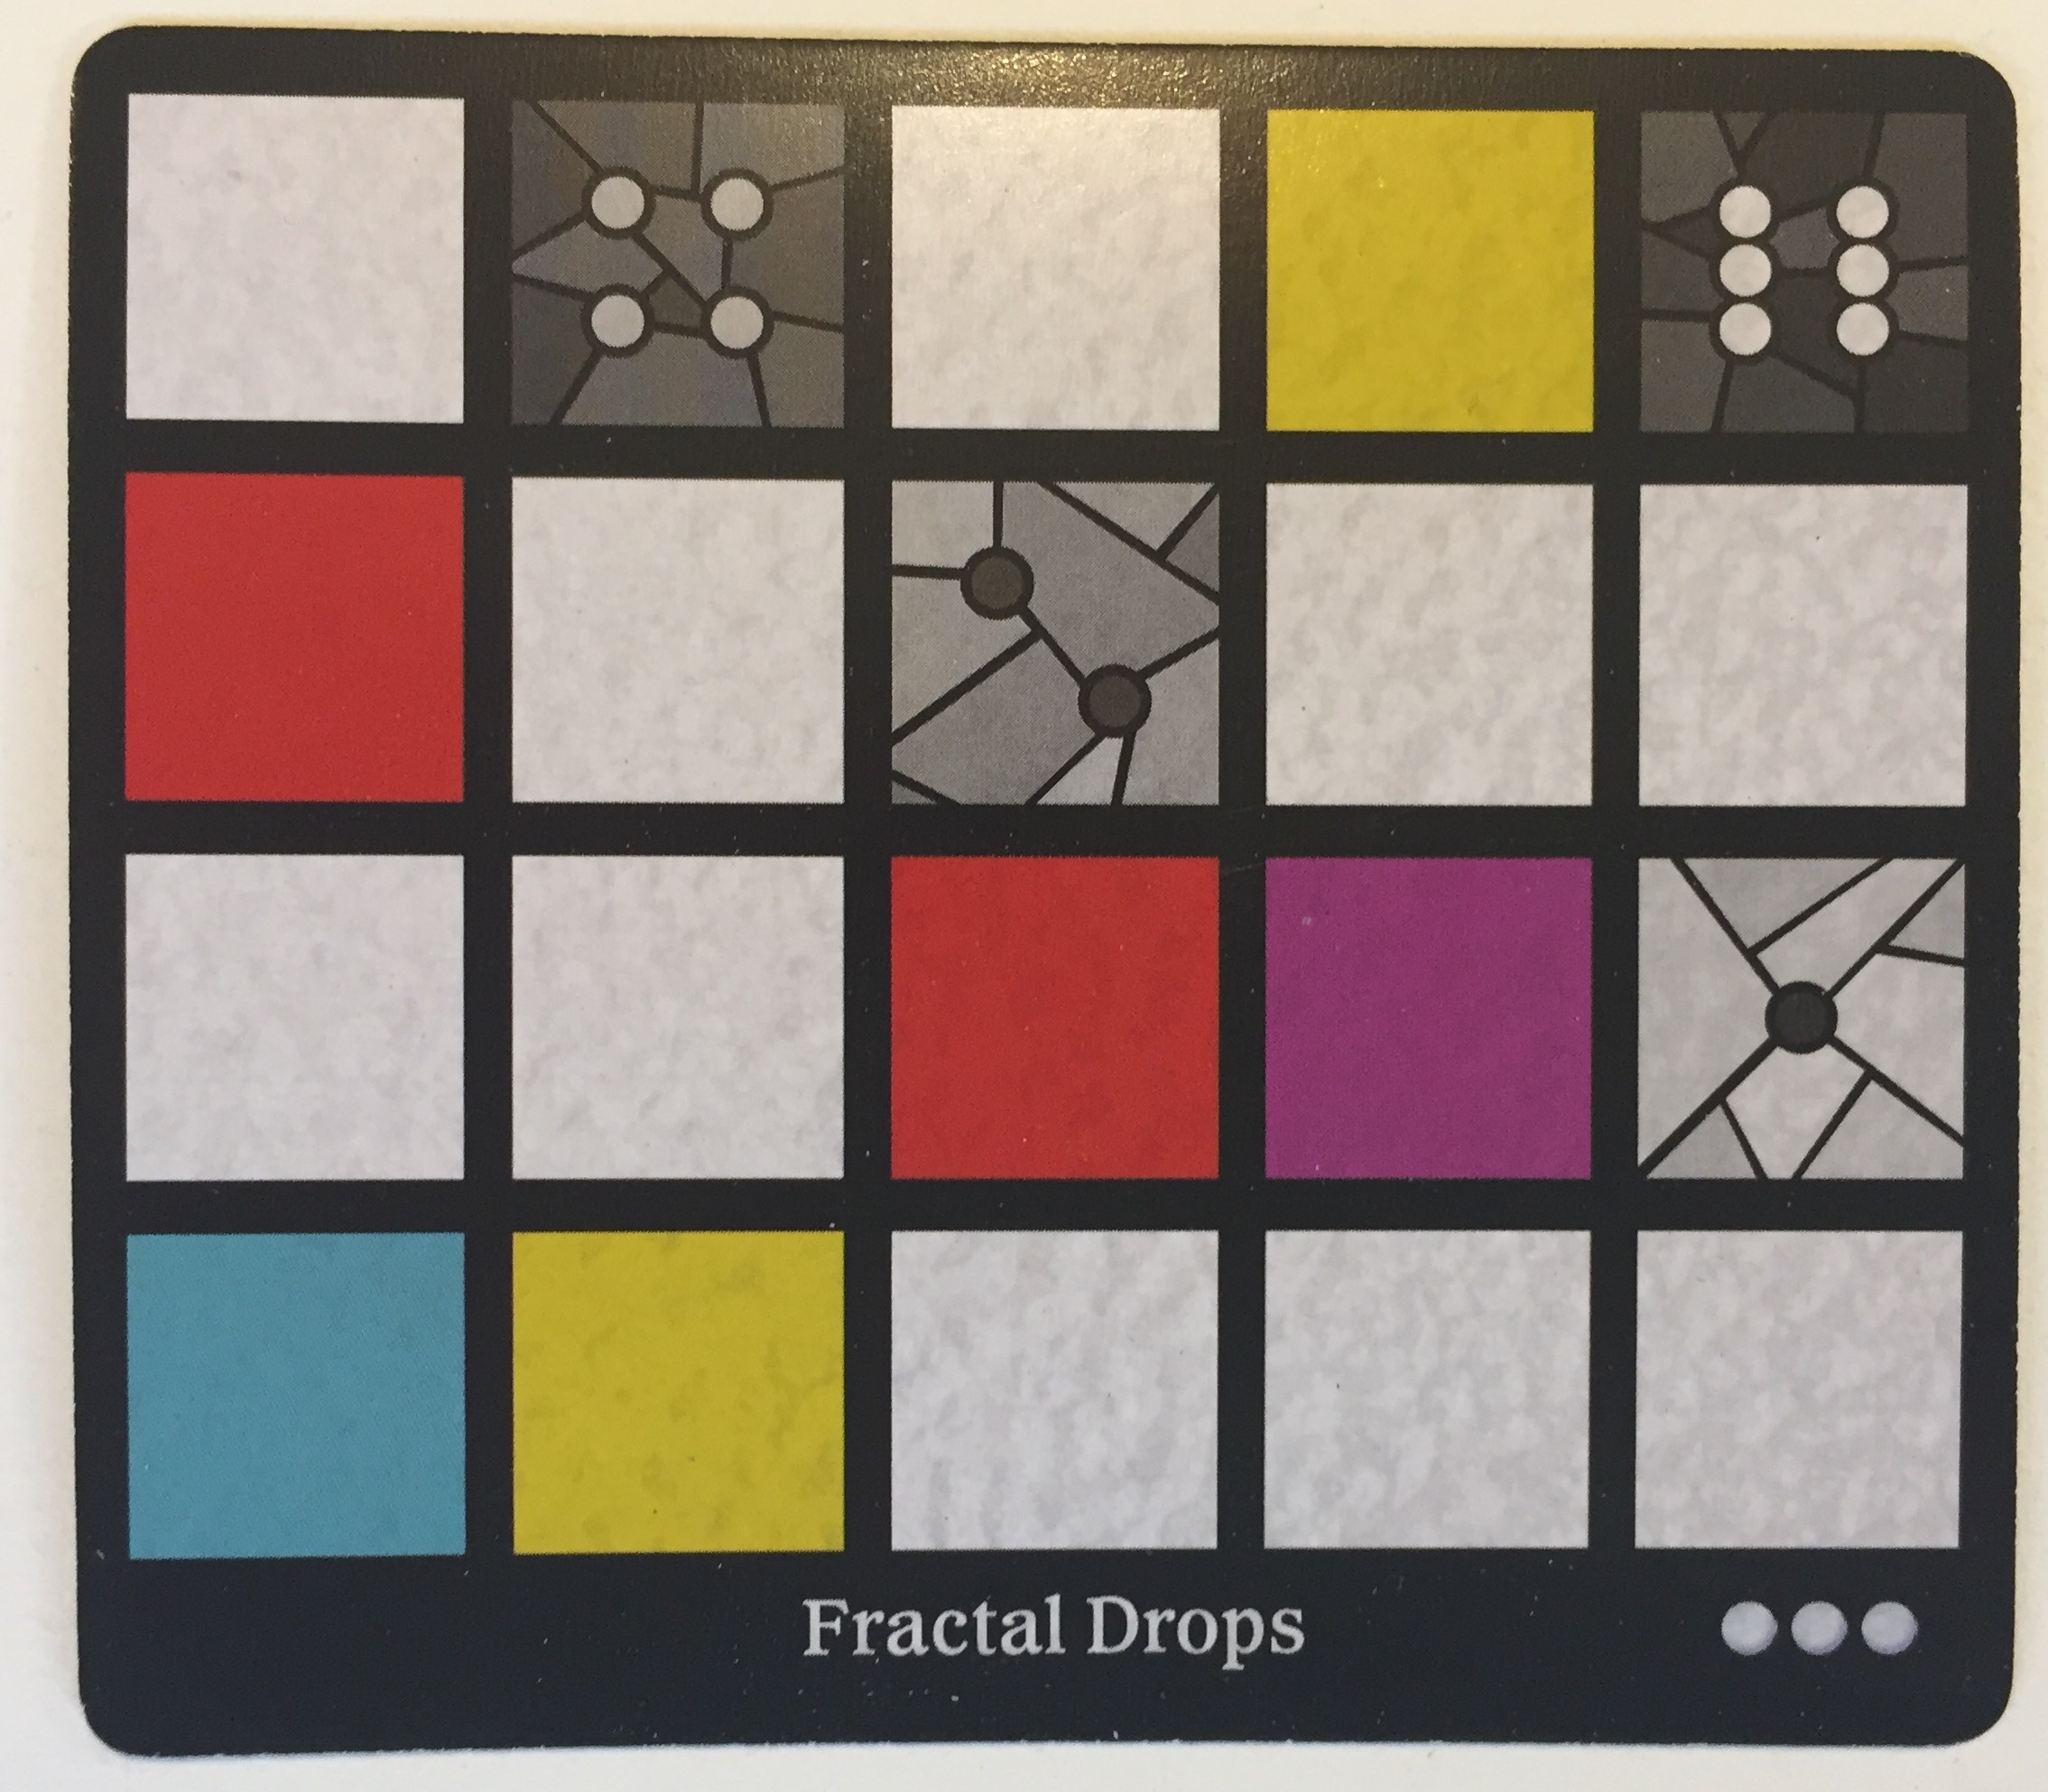
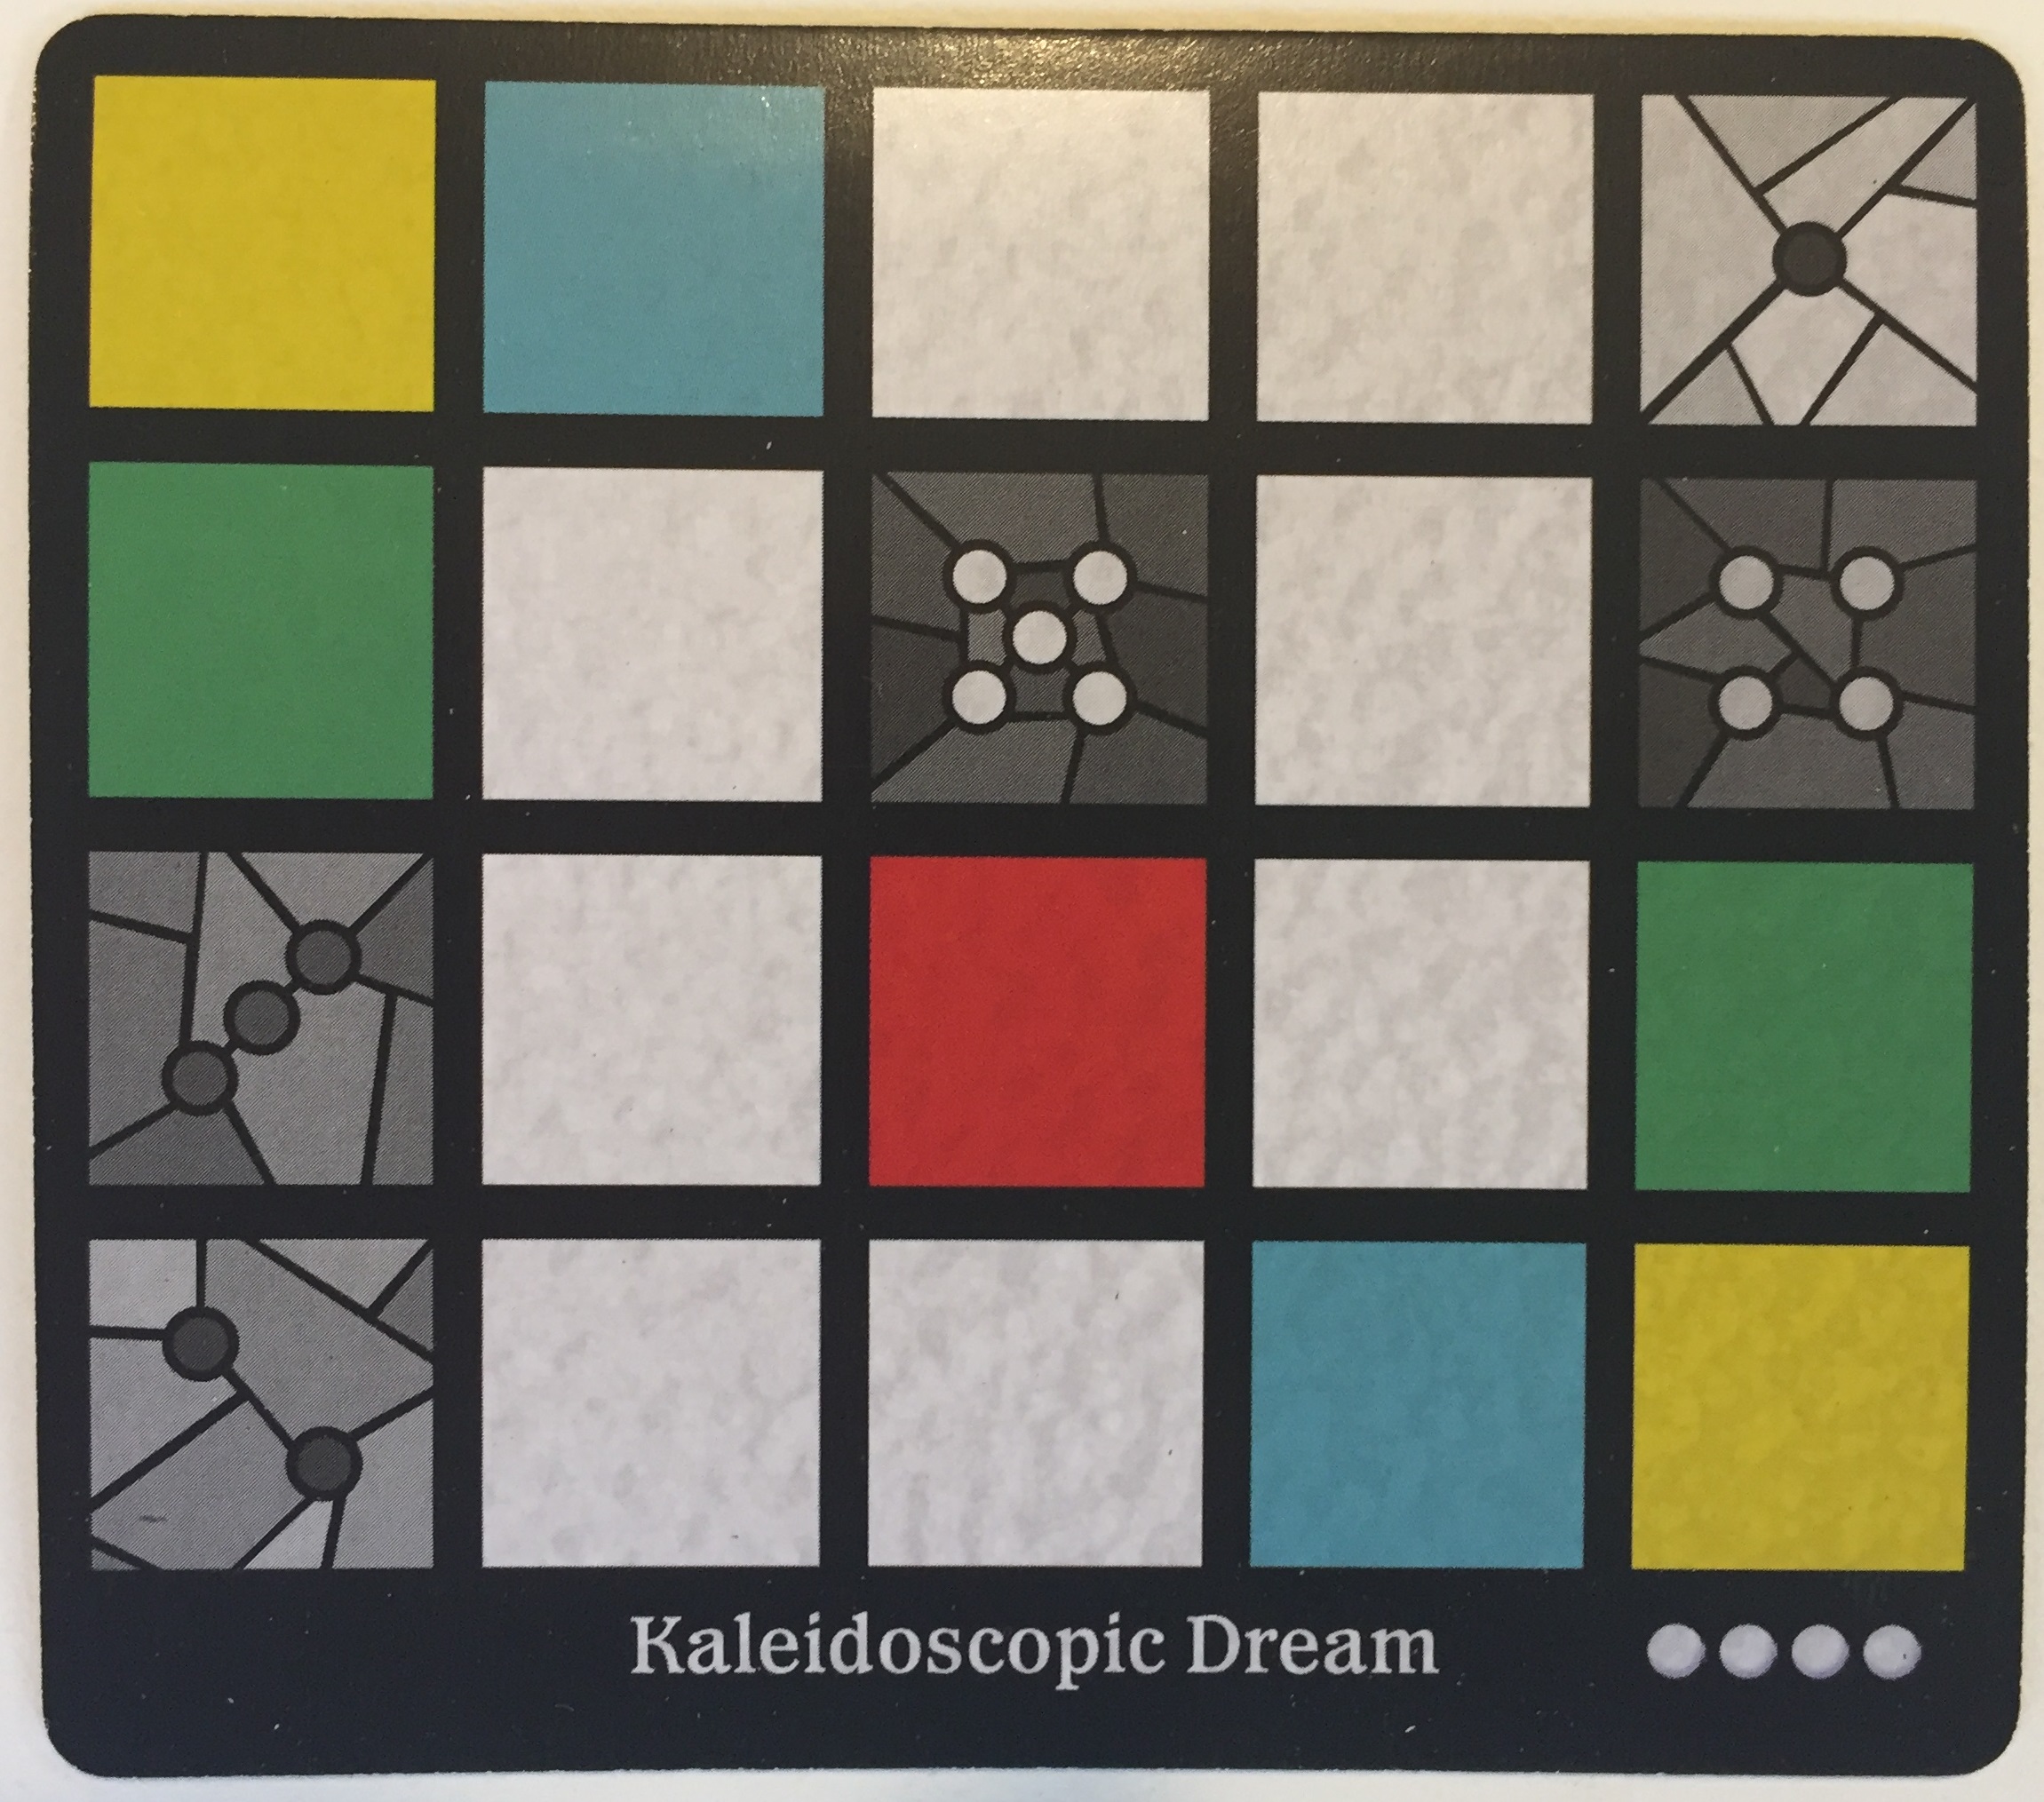
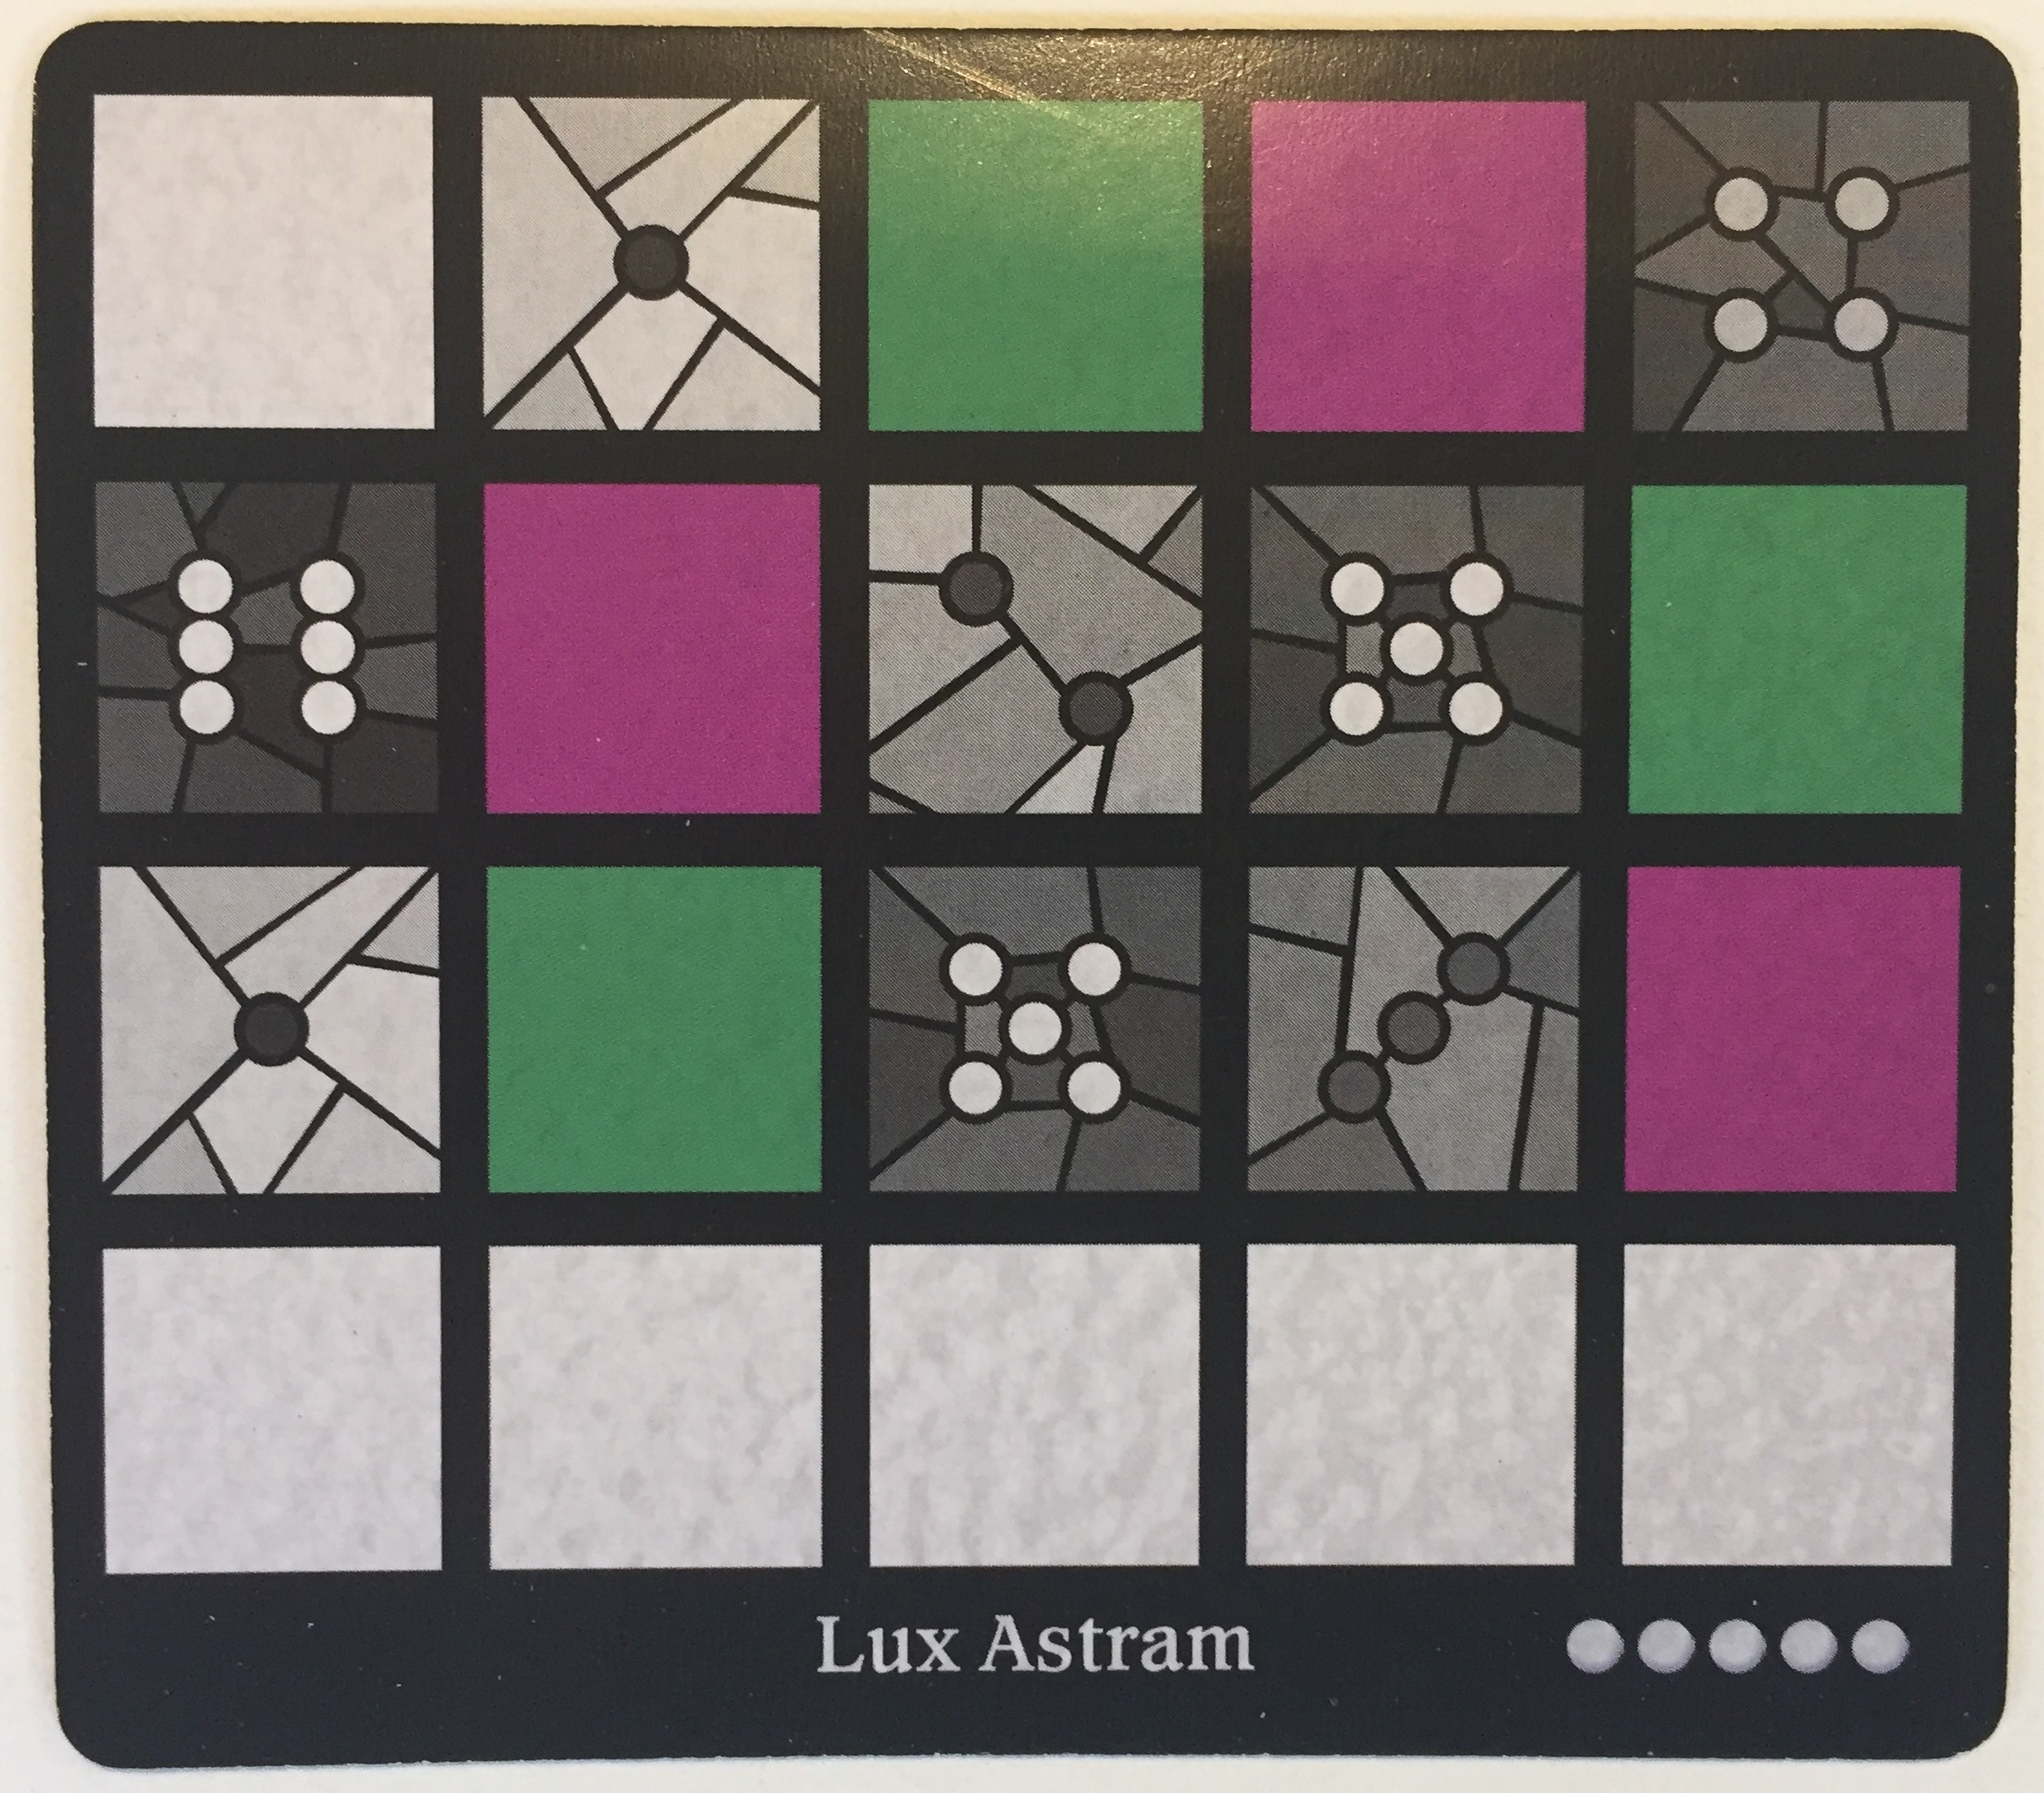
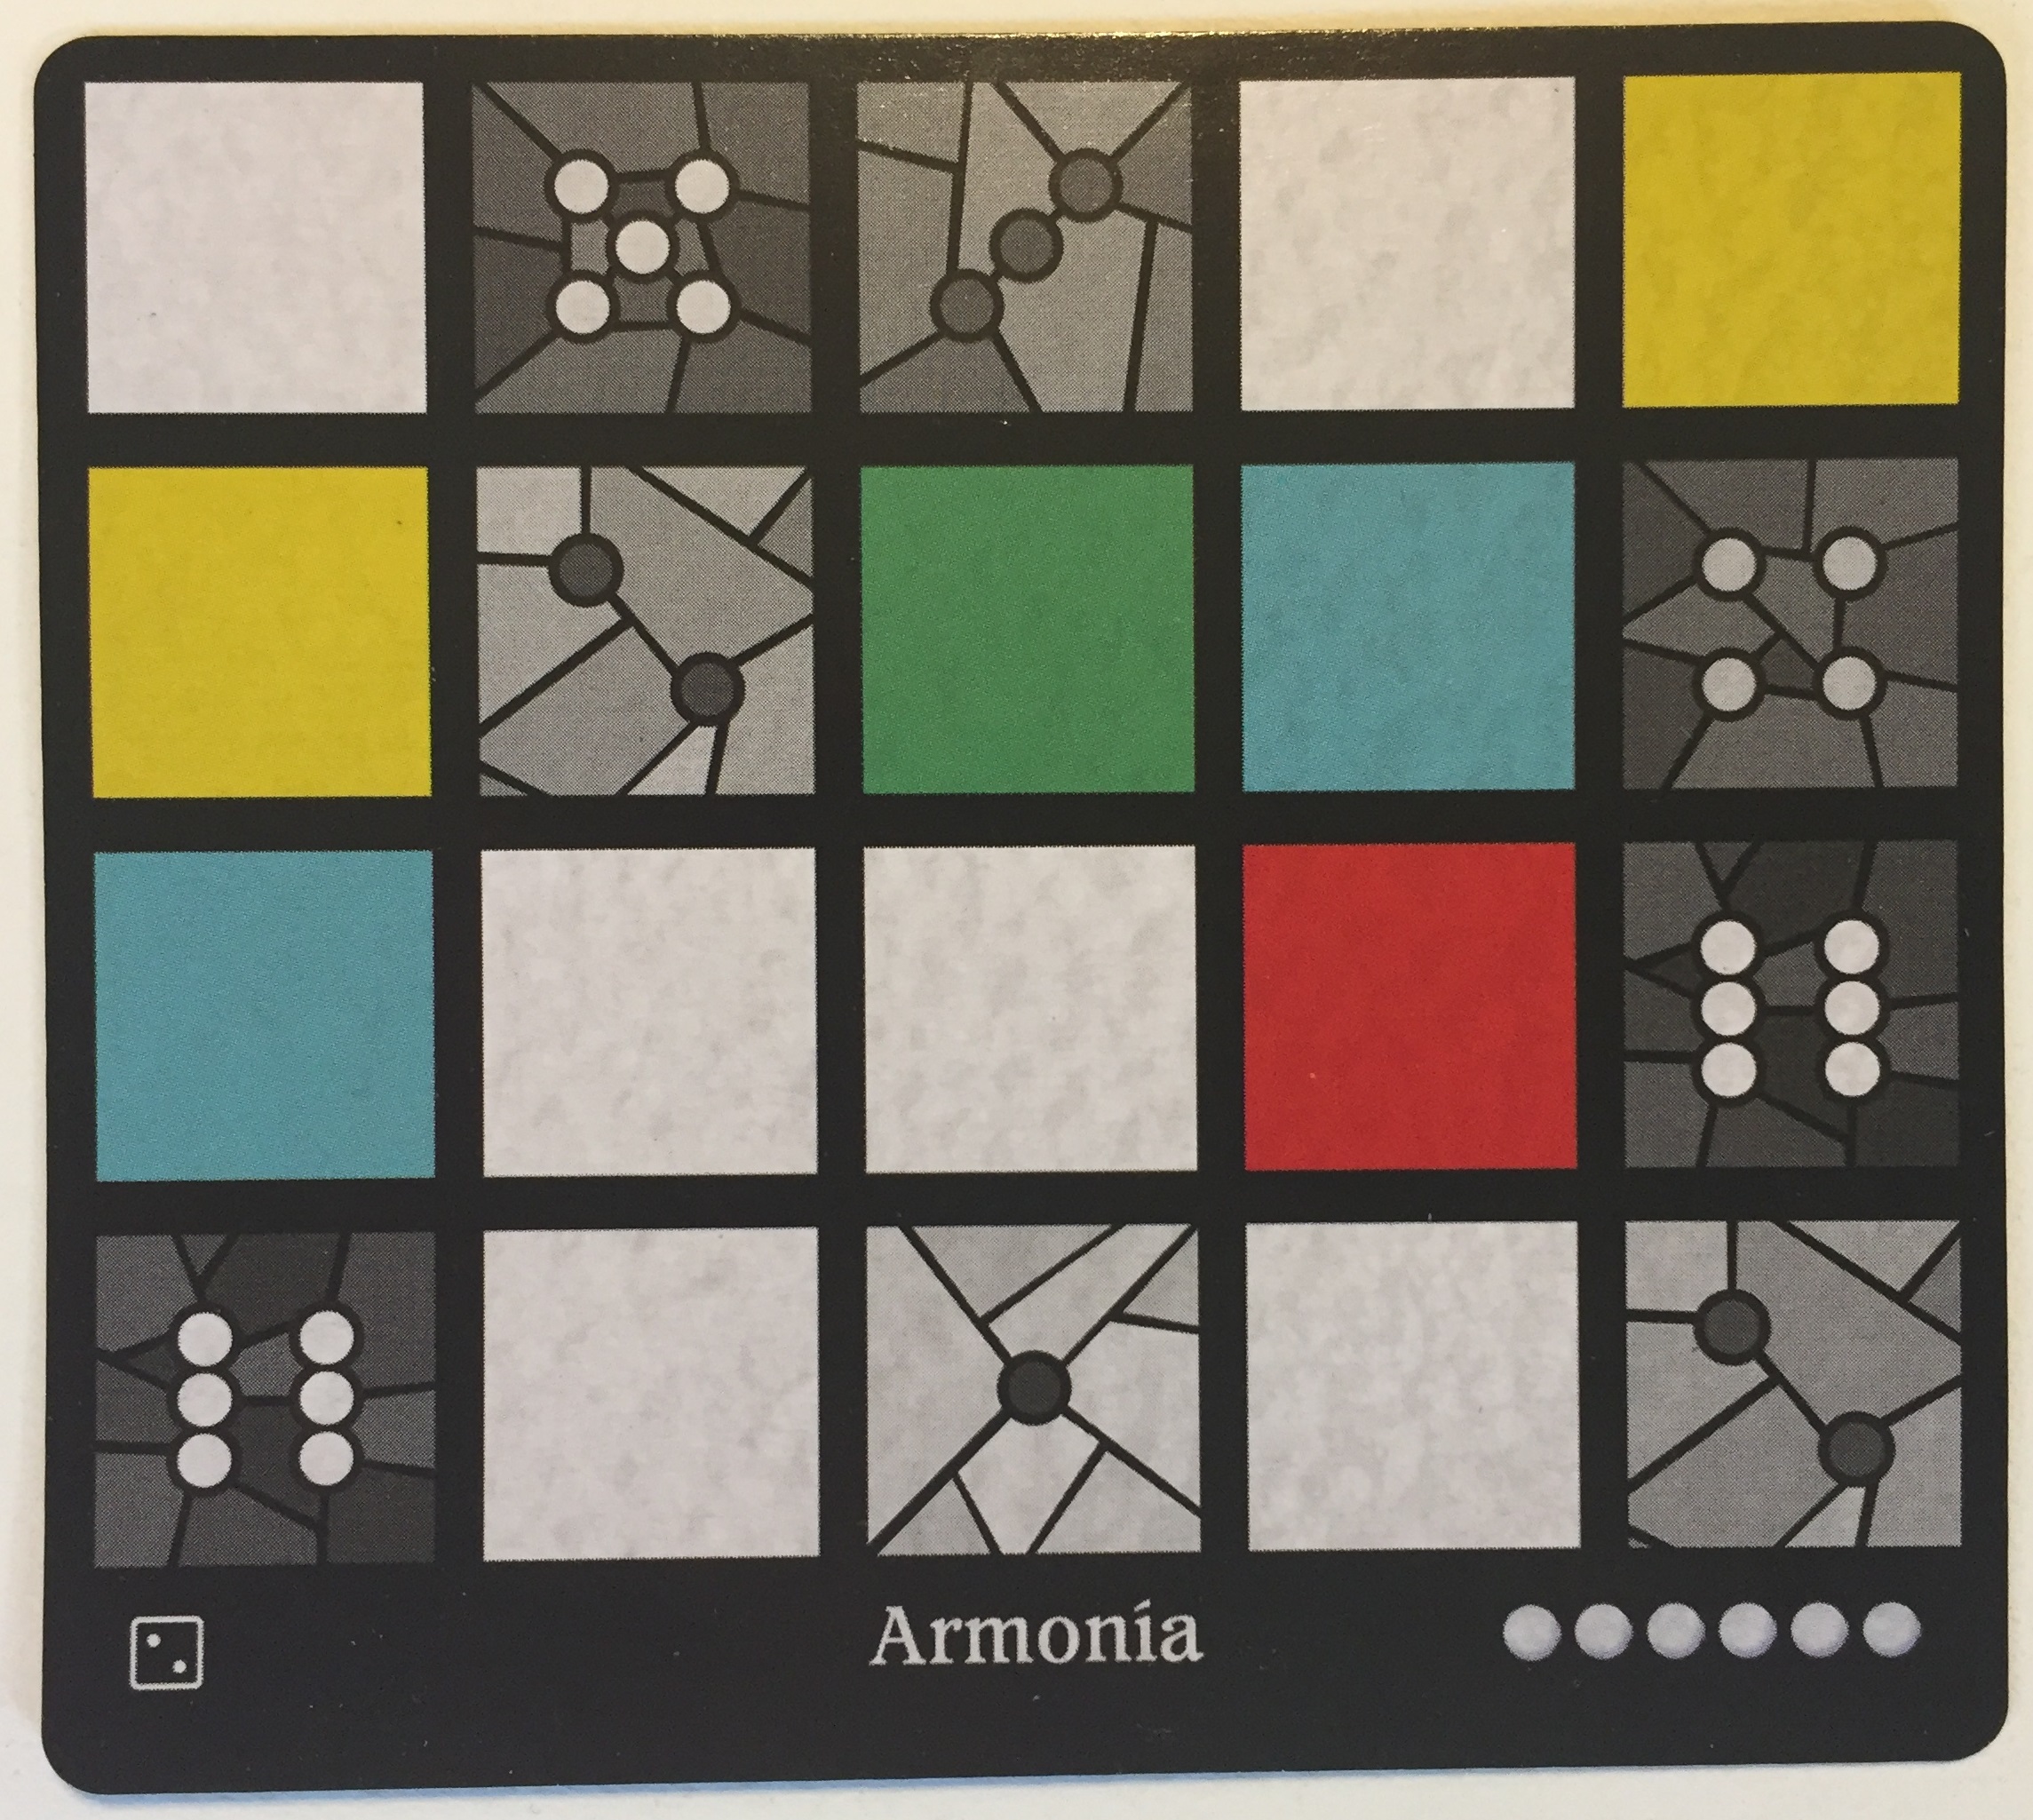
Each window has a number of dots on the bottom, ranging from three up. The number of dots serves two purposes. First, it’s an indication of how difficult that window is to build. Three dots are easy, more dots are harder. Second, it tells you how many tool tokens you start with. An easy window (with three dots) starts with three tool tokens. A harder window with six dots starts with – you guessed it – six tool tokens.
Finally you add a number of dice to the bag based on how many players there are. In the first few games we played we simply used all of the dice, and it makes the game less strategic. With a more restricted number of dice you have to plan ahead more.
At this point you’re ready to roll some dice! The first player pulls (N*2)+1 dice out of the bag, where N = the number of players. (Wait, nobody told me there would be math…) The first player selects (drafts) one die and placed it on his or her board. The second player then selects / places, and so on down to the last player. The last player, once they have drafted and placed their die, immediately gets a second turn. The second turn order is reversed, so the first player gets the last pick.
Each player gets to draft and place two dice each turn. With N*2 dice to pick from, the first player would have to take whatever was left at the end of the round. But with (N*2)+1 dice, there is always a selection to be made. I like it!
The final die also has a purpose. (It’s not like being picked last in gym class.) It is placed on the round tracker so all players know how many rounds are left to be played. (There are ten in a complete game.)
Once you have drafted (selected) your die you place it on your board. However, you cannot have two dice of the same color next to each other, nor can you have two dice with the same number (they call it “hue”) next to each other. That means no reds next to another red, and no fours next to another four. When you are first starting out, this might not seem to matter too much. But the further you get into the game, the more you start to fret about your choices. The dice that you draft and place are all trying to complete your window. Remember those window cards I mentioned earlier? Now it makes sense to show a few samples.
If you notice, each card has some spaces with a color, and others with a number (hue). You are required to place a die of that color or hue in that location to complete your window. That means if you mistakenly put a red two next to another space that requires a red die, you’ve just messed up! Remember you can’t put two red dice together. That leads to…
I need one more Yellow Die! Oh no, it’s a six! I can’t use that one…
A craftsman is only as good as his or her tools, and Sagrada helps out with that too. From earlier you might remember that as part of the setup for the game you draw and place three tool cards. Each card offers the ability to do something outside of the rules. For example, if you really need a yellow die but the only one available has a six on it, which you can’t use, you’re not completely out of luck. One tool might let you drop that yellow die back into the bag and draw a new one. A different tool might let you rotate the die from a six to a one (the opposite side). Another tool might let you rearrange dice already placed. There are lots of options! Oh, and remember the dice that were placed on the turn track? There are even tools that let you swap out a die from the active drafting pool for one of those instead. Really creative stuff!
But tools are not free. Again as part of the setting up process you were given some tool tokens. Harder windows grant more tool tokens. The first time a tool is used (by anyone, not just the current player) it only costs one token. The second and every subsequent use of the same tool – by any player, not just the one who used the tool first – costs two tokens! That means there could be an advantage to going first. But then again, there is a benefit to saving your tool tokens to later in the game, when you really, really need that yellow six to be something else…
So while it’s not a very deep strategic game, there are decisions to be made that impact your results. Which window should I pick? How aggressive should I be in trying to complete all of the public objectives? Do I take a die I don’t really need to block someone else? Do I use my tool tokens right away, when they’re cheap, or save them for later when they might allow me to complete my window?
After ten turns, the scoring phase starts. Open spots on your window are penalty while unused tool tokens provide a bonus.
Board Game Geek users give this a 1.9 on the complexity scale. I think that might be okay. The most popular choice for the game is a 2 (rating scale 1-5) and since I would not rate this a super simple 1 game, 2 it is for me as well.


